To make App Store screenshots, capture clean screens from your app at a 6.9-inch iPhone size such as 1290×2796, plan a 5–8 slide story that leads with your strongest benefit, add a short headline to each slide, place the screens on a consistent background, then export PNGs without transparency and upload them in App Store Connect.
That is the whole process in one sentence. The rest of this tutorial breaks it into eight practical steps, with the exact Simulator commands for clean captures, a slide-planning template, headline rules, and an honest comparison of the three ways to produce the final images: designing by hand, using templates, or using an AI generator. It is written for indie developers and small launch teams who want a professional set without a dedicated designer.
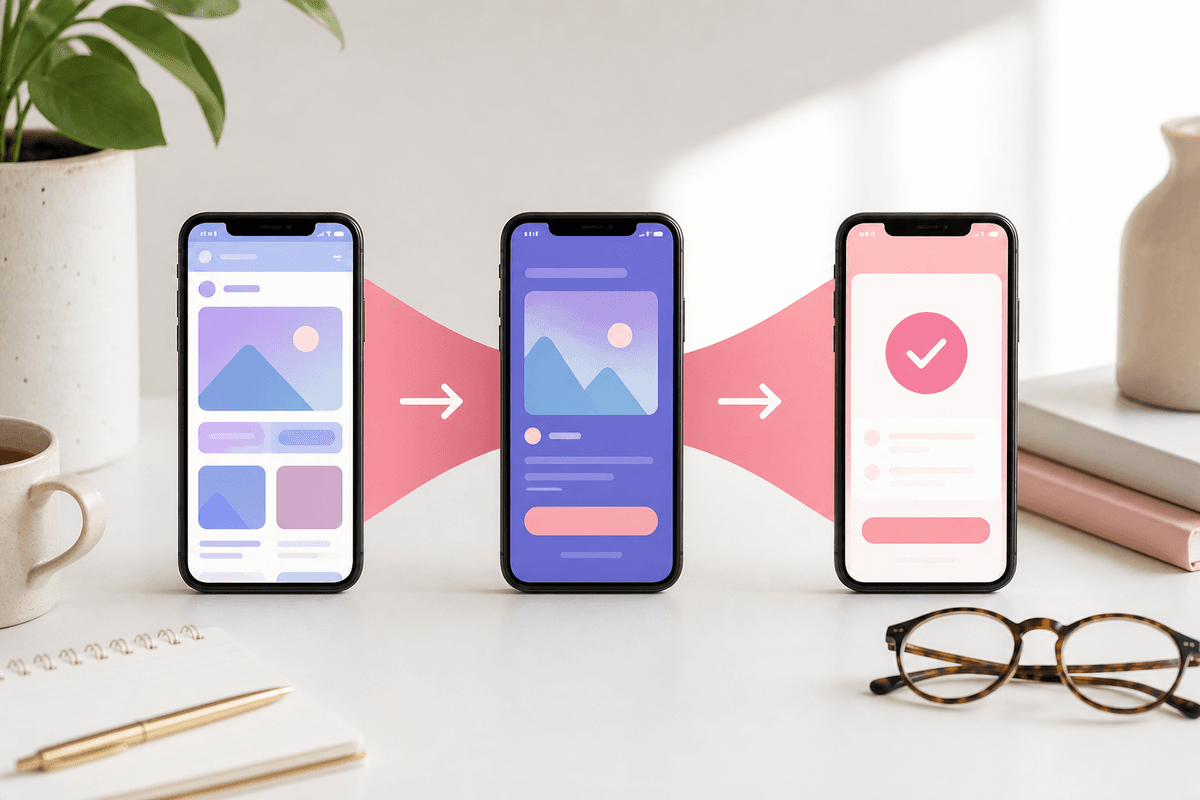
Step 1: Decide which App Store screenshot sizes you need
Before you open a design tool, decide which device slots you will fill. Most iPhone-only apps need just one set at a 6.9-inch size, because Apple can scale your largest iPhone set down for smaller displays. If your app runs on iPad, you also need a 13-inch iPad set. App Store Connect shows which slots are required for your app, and Apple updates the specifications as new devices ship, so confirm there before exporting.
- 6.9-inch iPhone (portrait): 1320×2868, 1290×2796 or 1260×2736 px
- 6.5-inch iPhone (portrait): 1284×2778 or 1242×2688 px
- 13-inch iPad (portrait): 2064×2752 or 2048×2732 px, required if your app runs on iPad
- Up to 10 screenshots per device size per localization
- PNG or JPEG, RGB, no transparency or alpha channel
- The first few screenshots show in search results, so they carry most of the weight
Step 2: Capture clean, real screens from your app
Your screenshots should show your real app, not a mock-up of features that do not exist yet. Apple’s guidelines expect screenshots to reflect the app experience, and real UI builds trust with people deciding whether to download.
The iOS Simulator is the easiest way to get captures at native resolution. Boot a large iPhone simulator (a current Pro Max or Plus model captures at one of the accepted 6.9-inch sizes), then clean up the status bar so every screenshot shows the same time, full battery and full signal: xcrun simctl status_bar booted override --time 9:41 --batteryLevel 100 --cellularBars 4. Capture each screen with xcrun simctl io booted screenshot home.png, changing the filename each time. When you are done, xcrun simctl status_bar booted clear restores the normal status bar.
Avoid grabbing the Simulator window with a system screenshot shortcut: that captures the window at your display’s scale, often with the bezel, instead of the device’s native pixels. If you capture on a physical iPhone instead, tidy the status bar by hand (charged battery, Wi-Fi on, no notifications).
- Fill every screen with realistic, friendly demo data, not lorem ipsum or test accounts
- Hide debug banners, feature flags and developer menus
- Use the same appearance (light or dark) across the whole set unless contrast is the point
- Capture more screens than you need, then pick the strongest 5–8
- Check sizes afterwards with sips -g pixelWidth -g pixelHeight *.png on a Mac
Step 3: Plan a 5–8 slide screenshot story
People skim screenshots in a couple of seconds, often seeing only the first two or three in search results. Treat the set as a story with a clear order rather than a tour of every tab. A simple structure that works for most apps:
- Slide 1, the hook: your single biggest benefit and the screen that proves it.
- Slide 2, the core action: what users do most often, shown in progress.
- Slides 3–5, supporting features: one feature per slide, each tied to an outcome.
- Slide 6, trust or differentiation: privacy, offline use, sync, or what makes you different.
- Slides 7–8, optional extras: customization, widgets, integrations or a closing call to action.
Step 4: Write a headline for every slide
Headlines do most of the selling. Each one should state a single benefit in a few words, readable at thumbnail size. Lead with the outcome the user gets, not the feature name: for example, a budgeting app might write “See where every dollar goes” rather than “Category analytics.”
Keep headlines short enough to sit on two lines, use the same tone across the set, and make sure the screen underneath actually shows what the headline promises. Optional subtext can add one supporting detail. For formulas and before-and-after examples, see our guide on how to write App Store screenshot copy.
Step 5: Design the slides: frames, backgrounds and type
Good App Store screenshot design is mostly consistency. Pick one layout system and repeat it: headline at the top, the app screen below it, the same margins on every slide.
- **Device frames:** optional. A frame makes the image read as a phone at small sizes; a frameless, slightly enlarged screen gives more room to the UI. Choose one approach and keep it.
- **Backgrounds:** use your brand colors or a soft gradient that contrasts with your UI. Avoid busy photos behind text.
- **Typography:** one bold, highly legible typeface for headlines and a lighter weight for subtext. Large sizes, high contrast.
- **Safe margins:** keep text away from the edges and corners so nothing feels cramped when Apple shows the image with rounded corners.
- **Continuity:** panoramic backgrounds that flow across slides can encourage swiping, but every slide must still make sense on its own.
- **Transparency:** export on a solid background. Transparent corners around a device frame are a common cause of upload errors.
Three ways to make App Store screenshots, compared honestly
By hand in Figma or Canva. You get full creative control and can match an existing brand system exactly. The trade-off is effort: you set up exact canvas sizes, export at the right scale (a 430×932 point frame needs a 3x export to reach 1290×2796), and redo every slide by hand whenever the UI, copy or language changes. It suits teams with design skills and time, or apps with a strict brand guide.
Template tools. A screenshot template gives you a ready layout and handles device frames and sizes, which is faster than starting from a blank canvas. You still write every headline yourself, and because many apps use the same templates, results can look generic unless you customize colors and type.
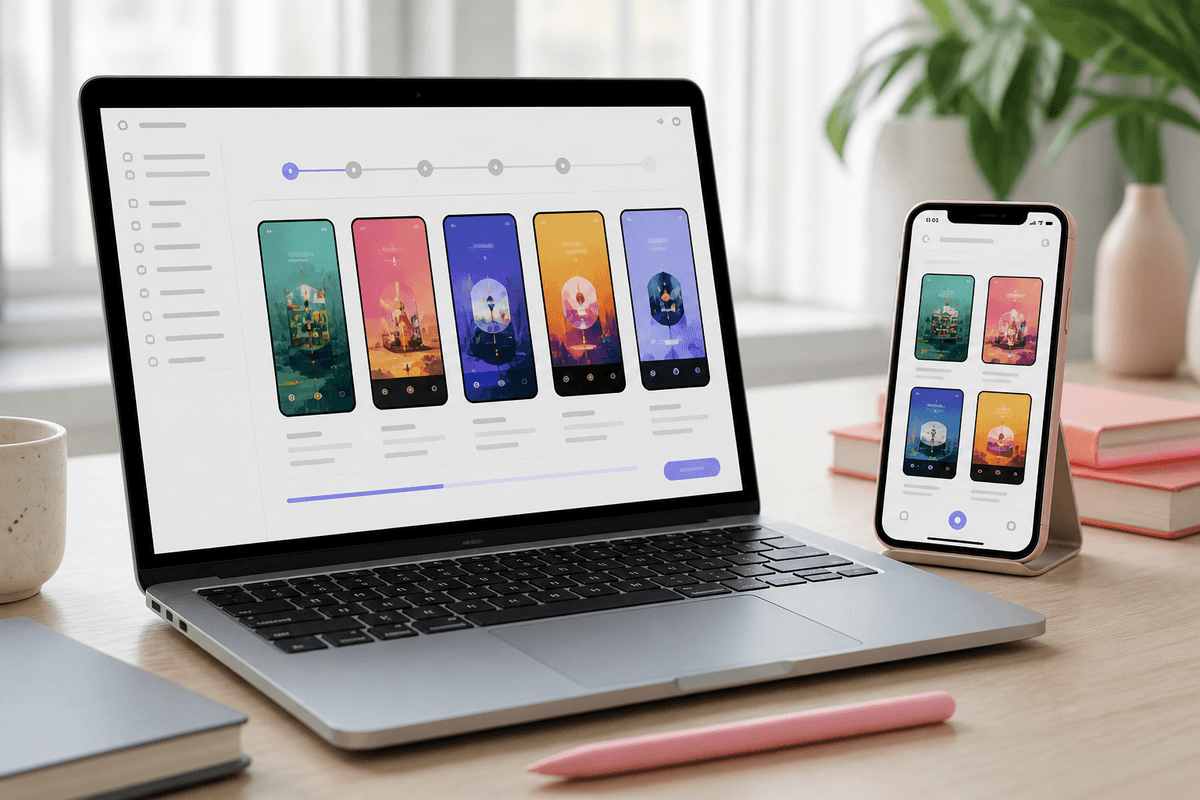
An AI generator. An app store screenshot maker like StoreShots AI takes 3–10 real screenshots of your app, suggests a purpose, headline, subtext and visual theme for each one, shows a preview hero frame, then generates the full pack. You revise individual slides in chat and download a ZIP of 1290×2796 PNGs. Your uploaded UI stays the source, so it does not redraw your app. It is usually the fastest route to a finished first set; you trade some fine-grained control for speed, and it does not produce iPad screenshots or app preview videos, so iPad apps still need a separate tablet set.
Many teams combine routes: generate a strong first draft with AI, then fine-tune a slide by hand if the brand demands it. For a deeper look at the trade-offs, read AI app screenshot generator vs designers or browse finished sample packs.
Step 6: Export and QA before you upload
A five-minute check here saves a rejected upload and a resubmission later. Run through this list with the final files, not the design file.
- Every file is an accepted size for its slot (for example exactly 1290×2796)
- PNG or JPEG, RGB, no alpha channel (sips -g hasAlpha *.png shows true or false)
- Files are numbered in the order you want them to appear
- Headlines are legible when the image is viewed at thumbnail size on a phone
- No typos, placeholder text, real customer data or prices that may change
- The UI shown matches the build you are submitting
- Localized sets have translated headlines that fit without truncation
Step 7: Upload your screenshots to App Store Connect
In App Store Connect, open your app, select the iOS version you are preparing, and scroll to Previews and Screenshots. Choose the device tab (iPhone 6.9-inch first, then iPad if required), drag in your files, and drag thumbnails to reorder them. Repeat for each localization you support.
If you see “The dimensions of one or more screenshots are wrong,” a file does not match the slot’s accepted sizes or contains transparency. Our guide to fixing the wrong dimensions error walks through every cause. Screenshots are tied to an app version, so plan to update them alongside a release, and use the full pre-submit checklist before you hit submit.
Step 8: Iterate with tests and custom product pages
Your first set is a hypothesis. Apple’s Product Page Optimization lets you test up to three alternative treatments of your icon, screenshots and app previews against your original product page, with tests running for up to 90 days. Change one meaningful thing at a time, such as the first slide’s headline or the screen you lead with, so you can tell what made the difference.
Custom product pages let you build alternative versions of your product page with different screenshots for specific audiences or ad campaigns; check Apple’s current limit on how many you can create. Each page reuses the same size rules, so a well-organized source file makes variants quick to produce. With StoreShots, re-exporting work you have already generated is free, and credits never expire, which suits this kind of gradual iteration. Our A/B testing guide for App Store screenshots covers test design in more detail.
FAQ
Questions about this topic
How do I make App Store screenshots?
Capture clean screens from your app, plan a 5–8 slide story, add a short benefit headline to each slide, and place the screens on a consistent background. Export PNGs at an accepted size such as 1290×2796 without transparency, then upload them in App Store Connect under Previews and Screenshots for each device size and localization.
What size should I make App Store screenshots?
Make iPhone screenshots at a 6.9-inch size: 1320×2868, 1290×2796 or 1260×2736 pixels in portrait. Apple can scale that set down for smaller iPhones. If your app runs on iPad, you also need a 13-inch iPad set at 2064×2752 or 2048×2732. Confirm the current list in App Store Connect Help before exporting.
How many App Store screenshots should I upload?
Upload between 5 and 8 screenshots for most apps, even though Apple allows up to 10 per device size per localization. The first few appear in search results and do most of the work, so put your strongest benefit first. Extra slides only help if each one shows a distinct, meaningful feature.
How do I get a clean 9:41 status bar in Simulator screenshots?
Run xcrun simctl status_bar booted override --time 9:41 --batteryLevel 100 --cellularBars 4 before capturing. Then take each screenshot with xcrun simctl io booted screenshot filename.png, which saves at the device’s native resolution. When you are finished, run xcrun simctl status_bar booted clear to restore the normal status bar.
Can I make App Store screenshots without a designer?
Yes, many indie developers make their own App Store screenshots with Figma or Canva, a template tool, or an AI generator. The key skills are choosing the right screens, writing short benefit headlines and keeping layout consistent. An AI app store screenshot maker can draft headlines and layouts for you, which you then review and refine.
Does StoreShots AI make iPad App Store screenshots?
No, StoreShots AI exports iPhone App Store screenshots at 1290×2796 and Google Play phone screenshots at 1080×1920, but not iPad sets. It builds them from 3–10 real app screenshots you upload and lets you revise individual slides in chat. If your app supports iPad, plan a separate 13-inch iPad set with another tool.
Sources
Official references used
- Screenshot specifications (Apple App Store Connect Help)
- App Store product page (Apple Developer)
- Product Page Optimization (Apple Developer)
- Custom product pages (Apple Developer)
Continue
Choose the next step
Related